Do you want to learn a backflip? This is how you learn
My experience
I can still remember that I also really liked it when I did a backflip on the ground for the first time. Beforehand I did not understand how it was possible to jump backwards and land back on your feet. So I really see it as a milestone in my freerun career. Now I can do the backflip almost anywhere and at any time.
Technique of the backflip
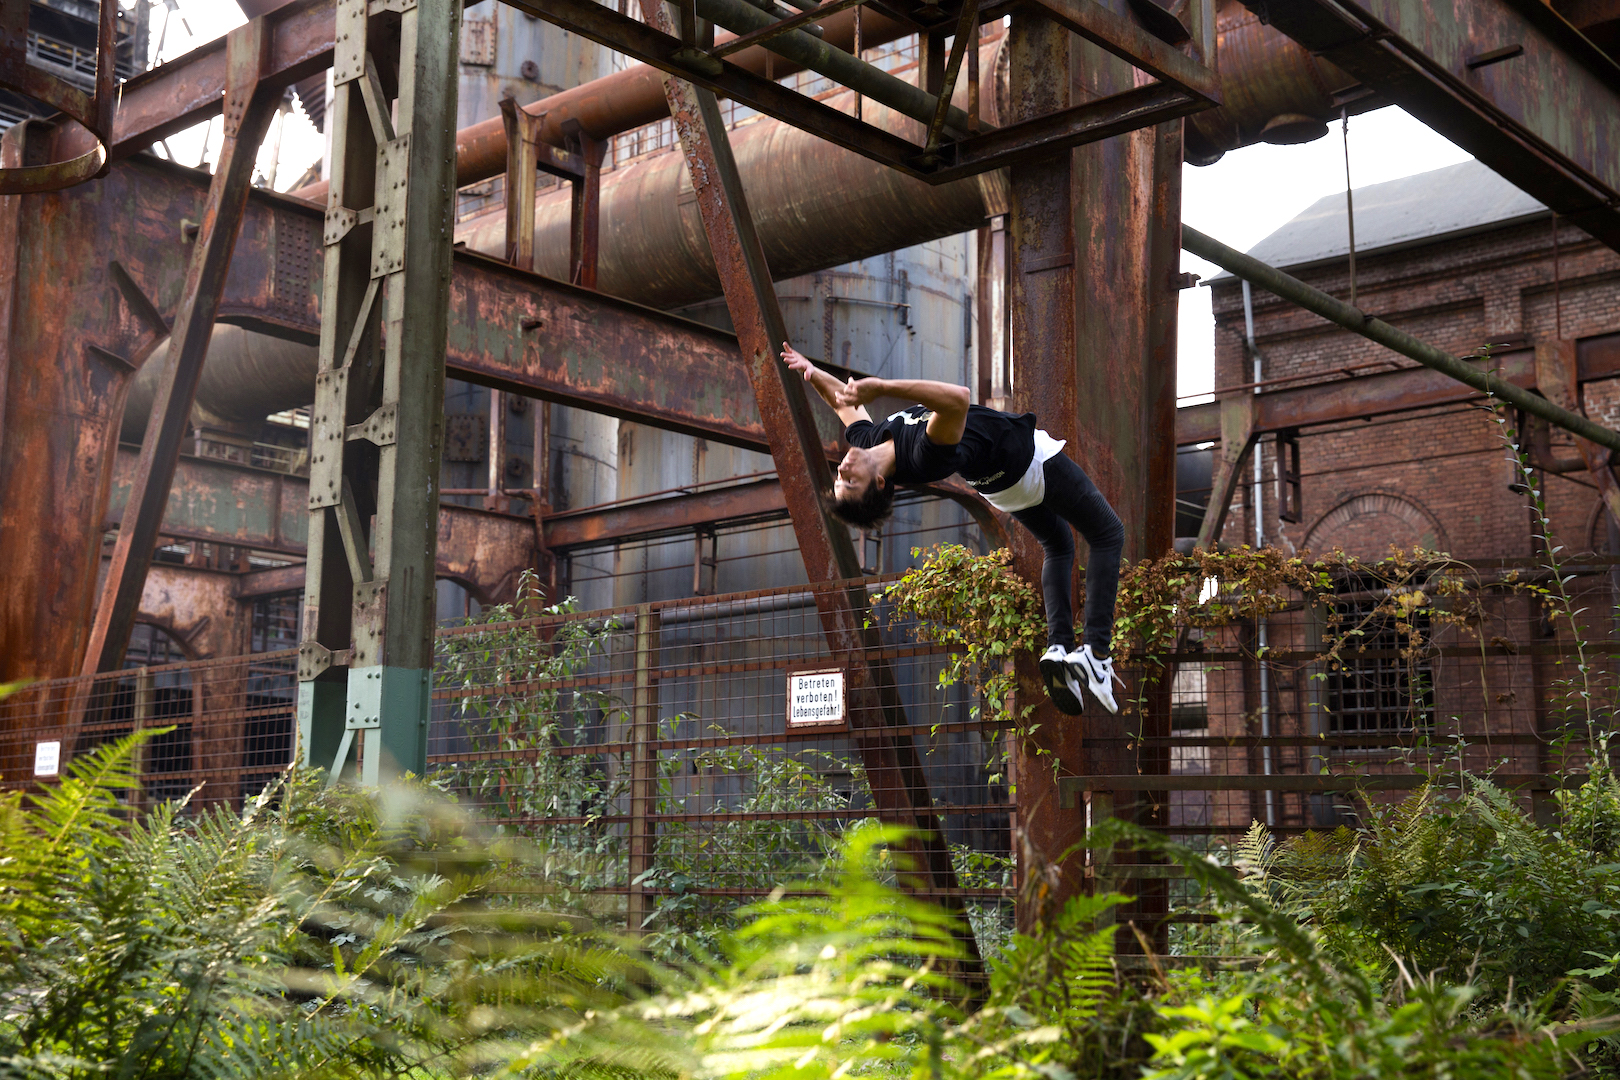
Before we start with the steps, let's talk about the technique of the backflip. You are supposed to go backwards over your head and land back on your legs. But how do you do that now? It is very important that you stand firmly on your legs, with your feet about hip-width apart. Slightly bend your knees and swing your arms up while pushing off with your legs. When you are at your highest point in the air, bring your knees toward your arms, causing your rotation. Then make sure you stay small as a kind of ball, this is called tucking in freerun language. When you can see the ground again, let go of your knees and land back on your feet. Easy peasy lemon squeezy!😜
Learn backflip in steps
Just kidding, you don't just learn a backflip. You have to build up the trick slowly so that you can control your body well and no dangerous situations arise. These 5 steps will help you with that. Let's get into it!
Step 1: learn backflip on the trampoline
When you want to learn a new trick, it is always important to build it up properly. That is why it is useful to start in a relatively safe place, the trampoline. Here you can use the suspension and get used to the backward rotation. This will probably feel very uncomfortable the first time. You could ask someone to catch you, just to be safe. Make sure you have mastered the technique before moving on to the next step.
Step 2: the backflip from an obstacle to a foam tray
In step two we exchange the trampoline for a gym, preferably one with a foam tray / foam pit. Nowadays there are also Parkour gyms with a Bigairbag, which is also a good alternative. Here you can practice the technique of the backflip in an accessible way. The foam tray ensures that you land softly. Keep in mind that you don't have a suspension now, so you are really dependent on your own strength and technique. You can practice the backflip from different heights, so that you can get used to that difference. Is it going well? Try putting a mat in the foam tray. This way you can make the landing 'harder' and prepare yourself for step 3.
Step 3: Backflip from an obstacle to a mat
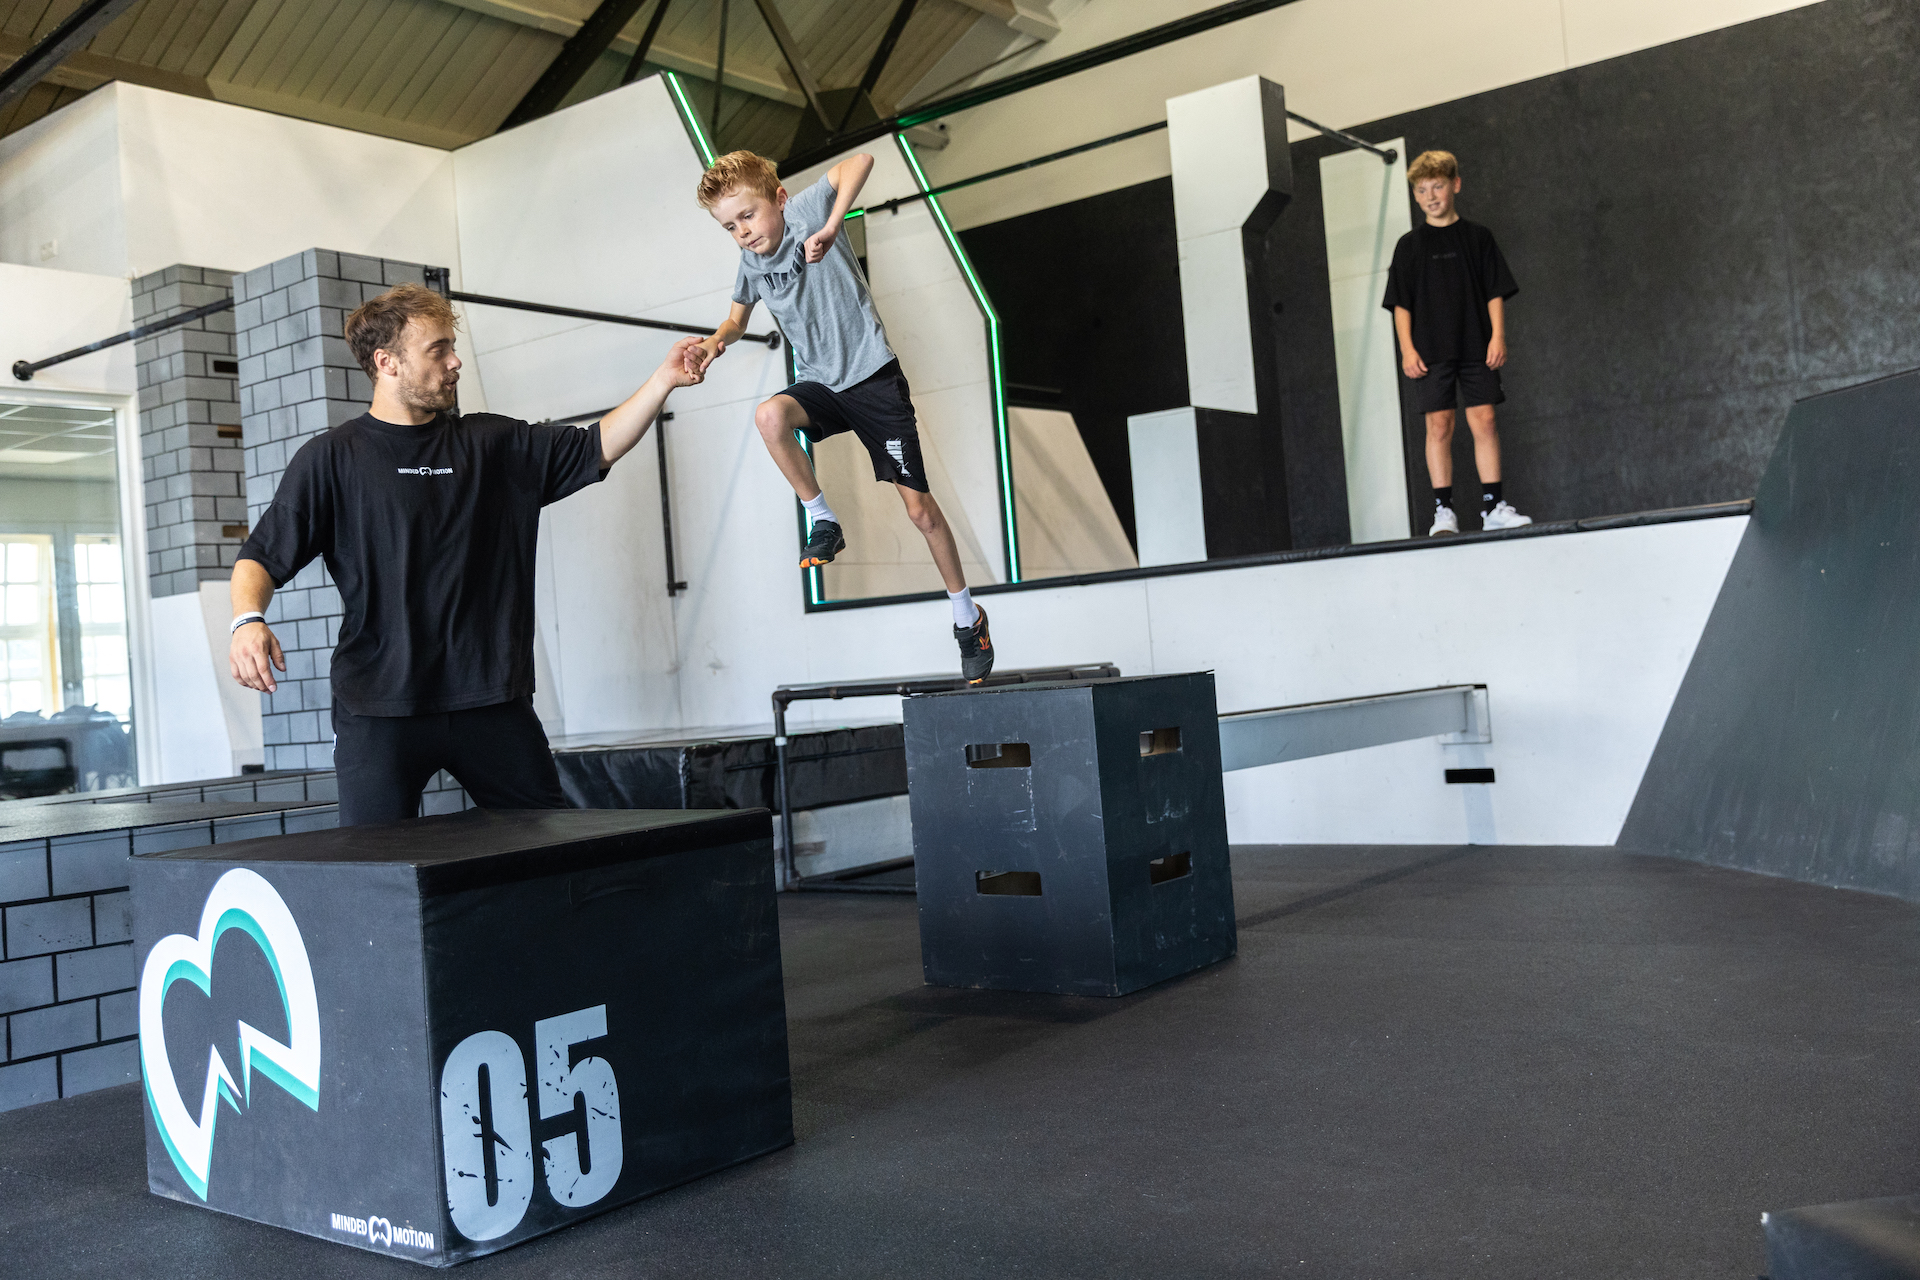
At the third step, things get a little more serious. You are going to do a backflip from an obstacle to a mat, outside the foam pit. Start with an obstacle at waist height. For example, you can use a gymnastics cabinet for this, which you can easily adjust. Place a thick mat or other soft mat on the floor in front of the cabinet. You can now try the backflip from the closet. Apply the technique you practiced in the previous steps.
Step 4: Your First Backflip Outside the Gym
This is where the real work begins, your first outdoor backflip. In principle, you do the same with step 4 as with step 3, only outside. Because you're in a different environment than you're used to, it can be scary to commit the trick. Look in the open air for a (picnic) table or other obstacle of about waist height. Here you will again apply the backflip technique that you have mastered by now. Optionally, you can bring a mat to slowly build it up, or find a softer surface to jump on, such as sand or grass. Is this going well? Then you can make it more and more difficult for yourself until you have landed a backflip to stone.
Step 5: back flip flat
When you have arrived at the fifth and last step, the backflip has actually already been successful. Well done! To fully master your backflip there is one more upgrade, you can try it on the flat ground. The technique for this is a little different. It is now important that you jump very well, because you no longer have any height to let yourself fall. You can build this up by jumping from an increasingly lower object until you succeed on the flat ground. You can also practice on a thick mat first and then move to a harder surface. Once you land a backflip on rock, the mission is complete!
Combining the back flip
Congratulations! You can now do a backflip. You can then also combine this trick, for example by adding one or more screws. We call that a backfull or back double full. In addition, there are also countless flips in which a backflip is incorporated, examples of which are the wallflip, palmflip, gingerflip, geatflip, pimflip, etc. In short, the backflip is one of the most common basic flips within freerunning. When you can do this, a world of possibilities opens up for you. Don't forget to read our blog about: this is what you should pay attention
Good luck practicing!
Share this blog
Other blogs

Being Challenged at Your Own Level at Minded Motion
At Minded Motion, freerunning is about much more than learning tricks. It’s about growing, having fun, and getting the best out of yourself. In a way that fits you. Whether you’re just starting out or have been training for years, challenge is always at the core of what we do.

the best kids’ party idea
Are you looking for truly original children’s party ideas? Do you want something spectacular, energetic, and above all, unforgettable for your son or daughter’s birthday? Your search ends here, because at Minded Motion we have the ultimate kids’ party idea: a freerunning birthday party!

The Ideal Sport for Children in 2025
In an age where screens and technology dominate much of our time, parents are seeking ways to keep their children and teenagers active and engaged. Freerunning has emerged in 2025 as the sport that captivates both kids and teens alike. But what makes this sport so well-suited for today's youth?

